Incubation and hatching of Serama eggs.
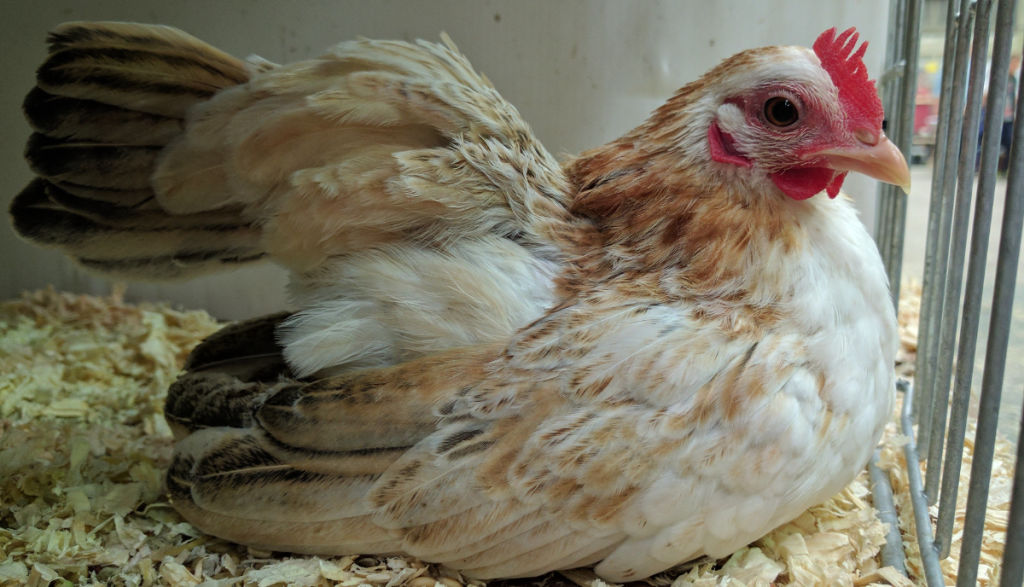
The Serama is a relatively good layer considering its body shape and small size, my females at home lay usually every day or every other day when in full lay.
As the body size of the Serama varies vastly from A to C class weights as does the egg size. Most larger A class birds lay small eggs which usually prove to be viable, B class birds can be productive breeders with C class birds usually laying the most eggs which in general are the largest and usually have higher hatch rates.
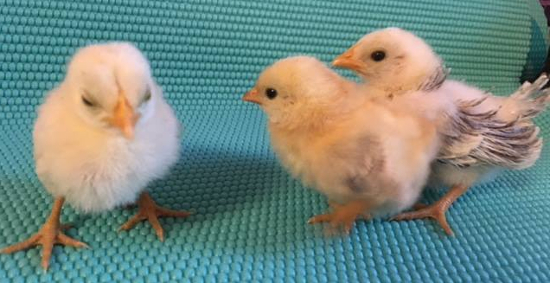
Below: Serama chicks.
Tiny A class birds often fail to lay or lay eggs too small to prove viable, however this is not always the case, as I personally have had excellent results from females weighing as little as 235 grams. The same can be said of males as particularly small males are often infertile.
OK, so you want to turn some fertile eggs into peeping chicks. How do you go about it? The process is a centuries old one, incubation. There are two types of incubation. One method is to allow a hen to naturally incubate her eggs, and the other is to purchase an incubator and incubate them yourself artificially.
Choosing Serama bantam eggs for hatching:
- It is always advisable to hatch Serama eggs which weigh between 18g and 24g.
- Never incubate deformed eggs.
- Incubate the cleanest eggs but do not wash them as this reduces viability.
- Avoid setting eggs from birds who are undergoing treatment as fertility/viability will be low.
- Check eggs for cracks or flaws etc.
- Eggs which appear mottled or opaque are often not viable.
- Soft eggs are not viable.
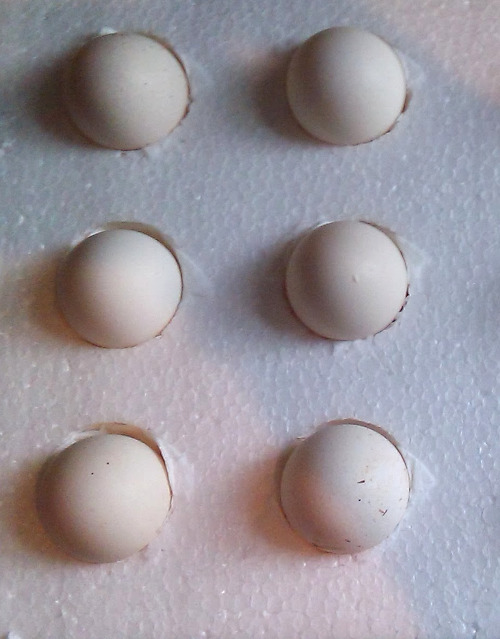
Below: A selection of 6 Serama bantam hatching eggs.
More on choosing and storing hatching eggs.
Using a hen to incubate Serama eggs naturally:
Serama bantams do occasionally go broody and hatch a clutch but being so tiny they can only cover a few eggs. You should always use a bantam chicken to hatch Serama eggs naturally as a large fowl is too big and heavy for the little eggs.
Once you have chosen the best eggs for incubation it is time to either set under your broody hen or in the incubator. In the case of the broody hen please ensure that she is sitting solid and not merely having a sit down.
A solid broody hen can be aggressive, she will be defensive and will fluff up her feathers and usually drop her wings and raise her tail when you touch her.
She will usually position herself in the nest box or in the corner of a pen. Make sure she is in a safe draught free position when setting the eggs. A hen will do all the leg work so once you have set the eggs just leave her alone to do her thing.
Always ensure she has plenty of food and water and peace and quiet. You can candle the eggs to see if they are fertile after 10 days if the hen will allow you to.
Artificial incubation of Serama eggs
Artificial incubation is quite simple once you become accustomed to it and it becomes easier the more you do it.
My incubator settings are:
Temperature - 37.5C
Humidity - 45% - 50%
Stop turning day 18
Increase humidity to 60% on day 18
Reduce temperature to 36.5C on day 18
Increase humidity to 65% once 50% of eggs have pipped
Hatching can take place between day 19-21
Once chicks have hatched move to the brooder
There are four major factors in incubating eggs artificially:
- Temperature,
- Humidity,
- Ventilation
- Egg turning.
Of these factors, temperature is the most critical. However, humidity tends to be overlooked and causes many hatching problems.
If you have a still air incubator, you should be incubating at 101 degrees Fahrenheit. If you are using a forced air incubator, incubate at 99.5 degrees, which leads us to our next topic.
Which kind of incubator should you be using?
There are two types of incubators commonly used:
- Forced-air incubators which have a built in fan to circulate the air.
- Still-air incubators which have no fans, so the air is allowed to stratify.
Again, temperatures for the forced-air incubator should be set at 99-99.5°F and 60-65% relative humidity (83-88°F wet bulb). Personally I feel that the forced air incubators offer better hatch rates because they keep the humidity at a constant level due to the circulation of the air.
Still air incubators are typically smaller and air flow is harder to manage. You will want to set the temperature at 101 degrees for a still air incubator, and monitor the temperature constantly because there can be as much as a 5 degree difference in temperature between the bottom and the top of the incubator.
Typically, since hot air rises, and the air in a still air incubator is not circulating, your eggs which are towards the bottom will be cooler then the temperature of the air at the top of the incubator. Therefore you need to make sure that you always have the thermometer at the same level as your eggs.
Before you incubate Serama eggs
Before you set your eggs you will want to heat the incubator up to the desired temperature and MAINTAIN it there for at least 12 hours to let it stabilise. Sometimes, thermometers are inaccurate, so I would advise using two thermometers if possible to get the most accurate reading.
Now you might be asking yourself, how much can the temperature vary without affecting your hatch rate. Chicks are extremely likely to die if the temperature drops below 96°F or rises above 103°F for a number of hours.
Now given a preference, overheating is more critical than under heating. For instance running the incubator at 105°F for 15 minutes will seriously affect the embryos, causing many birth defects, (if not killing the embryos) while running it at 95° for 3 or 4 hours will only slow the chick's metabolic rate.
An incubator should be operated in a location as free from drafts as possible and in direct sunlight. Do not adjust the heat upward during the first 48 hours after eggs are set. This practice “cooks” many eggs. The eggs will take time to warm to incubator temperature and many times in small incubators the incubator temperature will drop below 98°F for the first 6-8 hours or until the egg warms to 99°-100°F.
Power outages and your eggs.
It has happened many times that a storm or an electrical failure causes a power outage during your hatch. Please, if you experience a power failure, do not give up the possibility that the eggs will hatch.
In nature, hens do get up off the nest for short periods of time, so most of the time your eggs can be saved. The key to saving your eggs is not to panic, but to think clearly, and act quickly, while trying to keep the eggs as warm as possible until the power returns.
If you are using a small incubator, you can try putting blankets, (preferably wool or some other natural fibre) over the top and surrounding the incubator. A great method is to take pillows, and place them on top of the incubator, and around the sides.
Then cover the pillows with blankets. If you think about how much clothing it takes to maintain your normal body temperature of 98.6 in wintertime, you can see that maintaining incubator temperature is quite possible. Many sources say to use candles, Sterno cups, or other sources of flame as heat, to keep the eggs warm. I do not recommend this as this causes “hot spots” in your incubator.
Remember, it is always easier to heat up an incubator then to cool it down, so go slowly when adding layers of insulation. After the power comes back on, you will want to candle the eggs 4 to 6 days later to check for further development or signs of life.
If, after 6 days, you do not see life or development in any of the eggs, then you can assume that your tries at saving your eggs did not succeed and you can discard the eggs. If the eggs do remain viable, then you can assume that hatching will be delayed by about 2-3 days, and your hatch rate will seldom be over 50%
Humidity:
Try as much as you can to keep the relative humidity of the air within an incubator 60 percent. During the last 3 days (the hatching period) you will want to raise that figure to 65-70 percent.
Be careful, if you have too much moisture in the incubator it will prevent normal evaporation and results in a decreased hatch. What happens is, the air cell fills up with water and once the chick pips through the air cell (termed “internal pip”) it drowns.
Luckily, excessive moisture is seldom a problem in small incubators. If your incubator is running with too little moisture the results will be excessive evaporation, causing chicks to stick to the shell, remain in the pipped shells, and sometimes hatch crippled. So it is very important that you keep the humidity not low enough so that the chick doesn’t pip, but also not too high so that once it pips it drowns.
So how do you control the relative humidity? It definitely takes a little practice but once you have it you will become accustomed to it. The easiest way to do so is to change the size of the water pan/tray(s) in the bottom of the incubator or by putting a sponge in the pan to increase the evaporative surface.
Most incubators come with detailed instructions on how to change the humidity, but keep in mind that different incubators have easier, and more reliable ways of doing so. Make sure you check the pan every few days while you are incubating to ensure that the correct water amount is there.
My last caution when talking about changing the humidity is that whenever you add water to an incubator, make sure it is about the same temperature as the air in the incubator so you do not stress the eggs or the incubator. To do so, just use room temperature water and you should be fine.
Now all this is fine, for CHANGING the humidity, but how do you actually determine what the level of humidity IS in your incubator? The most common way is by using a wet-bulb thermometer.
Basically, the wet-bulb thermometer measures the evaporative cooling effect. If the wet and dry bulb read the same temperature, you would have 100 percent humidity. The greater the evaporation taking place, the lower the temperature reading on the wet-bulb thermometer and the larger the spread will be between the wet- and dry-bulb readings.
Ventilation:
The best hatching results are obtained with normal atmospheric air, which usually contains 20-21 percent oxygen. It is difficult to provide too much oxygen, but a deficiency is possible.
Make sure that the ventilation holes are adjusted to allow a normal exchange of air. This is critical on home-made incubators. It is possible to suffocate the eggs and chicks in an air-tight container. However, excessive ventilation removes humidity and makes it difficult to heat incubators properly.
Egg turning:
In nature, you have heard of a hen turning her eggs. Artificial incubation is no different. Make sure that you turn your eggs at least 3 times daily. This keeps the embryo centred in the egg and prevents it from sticking to the shell membrane. If you don’t have an automatic turner, take a pencil (NOT an indelible marker or anything which could leach through the shell pores) and mark each side of the egg.
Put an "x" on one side and an "o" on the opposite side. It is a good idea to make sure that you turn the eggs 3 times a day by creating a little checklist. That way, you can cross off each turning that you do. For example, you would mark off, “Tuesday X, O, X, Wednesday O, X, O” etc.
For the last three days of the incubation period do not turn the eggs at all and do not open the incubator until the hatch is completed. (To insure that a desirable hatching humidity is maintained.)
From pip to hatch:
If you have successfully gotten to the point where your eggs have pipped, then you can do two things. Rest easy because the hardest part of the process is behind you, and chew your fingernails because the most intense and risky part is ahead of you.
The pip. Many people make the mistake of helping the chick from the shell once it has pipped. Do NOT help the chicks from the shell at hatching time. If it doesn't hatch, there is usually a good reason.
Also, prematurely helping the chick hatch could cripple or infect the chick. Humidity is critical at hatching time, and you can’t be opening the incubator to check on the eggs, which will allow the humidity to escape. Don't allow your curiosity to damage your hatch. And don’t be worried, chicks usually take at least a day to hatch once they have pipped.
Now another caution, don’t remove the chicks from the incubator until they are completely dried. This can take between 6 and 12 hours after hatching. Once they are dry, remove them from the incubator.
Sanitation of the incubator and equipment:
Now that your chicks are out of the incubator, chances are you will be using it again. It is very crucial to later hatches that you thoroughly clean and disinfect the incubator before and after you use it. As a note, make sure that the incubation area is kept equally clean. A lack of sanitation will decrease Hatchability dramatically. An egg is porous, which allows bacteria to enter.
Bacteria can be damaging to you and me, not to mention to a 3 day old embryo. So immediately after each hatch, thoroughly clean and disinfect all hatching trays, water pans and the floor of the Incubator. Here are some things you will want to make sure you do. Scrape off all egg shells and dirt on the bottom of the incubator. Thoroughly wipe clean all surfaces.
For this, many people recommend using a rag dampened in a solution, but I have found it a lot easier to use those moistened Clorox wipes. Another personal preference of mine is to not use Styrofoam incubators if possible as they are a lot harder to clean. However most models come with plastic liners, which you can also buy so this has cut down on the disinfecting chore considerably.